


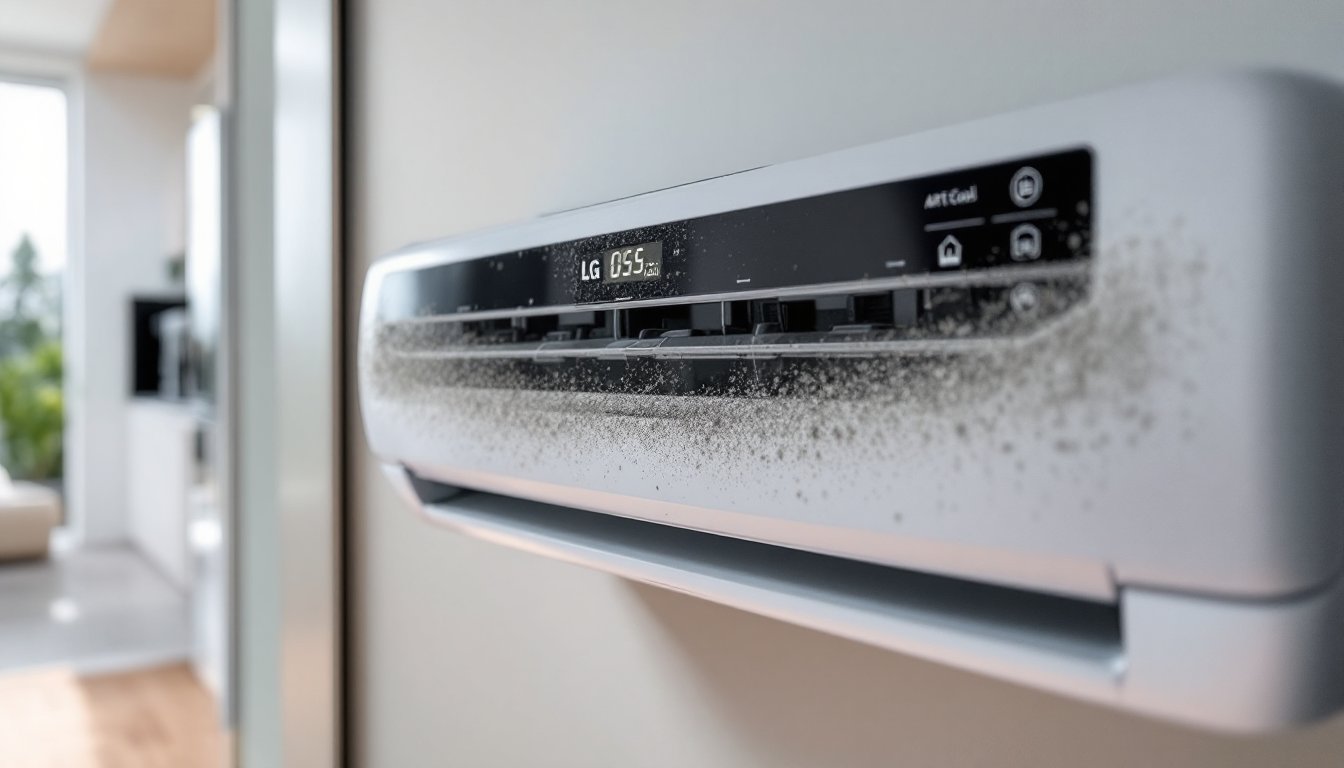
Lg art cool mini split problems appear in homes after normal wear, poor installation, or blocked airflow. The article lists common symptoms, simple checks, and clear next steps. It aims to help readers identify faults and fix many issues without tools. It places priority on safety and warranty guidance.
Key Takeaways
- LG Art Cool mini split problems often stem from low refrigerant, blocked airflow, or poor installation causing symptoms like frozen coils and weak cooling.
- Regularly check and clean filters, ensure proper thermostat settings, and inspect for visible ice or unusual noises to prevent common issues without tools.
- Water leaks usually indicate clogged condensate drains or misaligned pans, requiring prompt attention to avoid damage.
- Short cycling and random shutdowns can signal electrical problems, like bad capacitors or loose connections, needing professional diagnosis.
- Maintain the system warranty by documenting all issues and calling certified technicians for major repairs like compressor failure or refrigerant leaks.
- Use quick troubleshooting steps like power resets, checking app connections, and clearing outdoor unit obstructions to restore normal LG Art Cool mini split operation.
Most Common Problems With LG Art Cool Mini Splits — Symptoms And Likely Causes
Frozen evaporator coil and icy lines
Art cool mini split freezes when it runs with low refrigerant or blocked airflow. The fan moves air: a clogged filter stops flow. The system still runs, but the coil gains ice and the unit blows weak cold air. The likely cause is a refrigerant leak or dirty air path.
Weak cooling or no cooling
A unit that runs but does not cool usually has low refrigerant, a failed compressor capacitor, or incorrect thermostat settings. The control board may show error codes when sensors fail. The outdoor compressor may start and stop quickly when a capacitor weakens.
Strange noises
A rattling or grinding sound often means loose panels, fan blade damage, or a failing motor bearing. A high-pitched squeal may point to a worn belt or failing compressor start device. The unit may keep running but the noise will worsen until a component breaks.
Water leaks inside
Water on the floor or ceiling comes from a blocked condensate drain or a misaligned pan. The drain line can clog with dust, mold, or insect nests. The indoor unit may run normally while it leaks slowly and stains surfaces.
Short cycling and random shutdowns
Short cycling happens when the unit turns on and off every few minutes. The unit protects itself from overload when the compressor overheats or a sensor fails. Loose electrical connections or a bad capacitor cause fast cycling.
Bad remote control or weak app connection
The wireless remote may fail due to dead batteries or dirty contacts. If the system connects to a phone app, the account or network can block control. Many modern systems rely on cloud links that require a valid account and stable Wi‑Fi.
Sensor faults and inaccurate temperature
A wrong room temperature reading occurs when the indoor sensor sits near sunlight, vents, or heat sources. The unit will cycle oddly and not hold set temperatures. Sensor replacement or repositioning often corrects the error.
Electrical problems and blown fuses
A unit that does not power on can have a tripped breaker, blown fuse, or failed power board. The outdoor unit may receive partial voltage causing poor performance. A licensed electrician should inspect mains issues.
Refrigerant leaks and performance loss
A slow refrigerant leak reduces cooling over weeks to months. The unit runs longer and the compressor works harder. Technicians must find the leak, repair the line, and recharge the system to the manufacturer specs.
Quick Troubleshooting Checklist You Can Do Today (No Tools Required)
Check the filter and airflow
They should inspect the indoor filter and wipe large dust clumps. They should clear nearby furniture that blocks airflow. Clean filters restore normal airflow and often fix weak cooling.
Confirm the thermostat and fan mode
They should confirm the remote shows the correct mode and set temperature. They should set fan to auto and lower temperature by a few degrees to test output. The remote battery swap can restore control.
Look for visible ice or frost
They should open the indoor panel and check the coil. If they see ice, they should turn the unit off and let it thaw. Running a frozen unit can damage the compressor.
Listen for abnormal sounds
They should note any rattles, clicks, or loud fans. They should check that nothing touches the outdoor fan and that panels sit flush. Many noises come from loose screws or small debris.
Inspect drain paths visually
They should look for water under the cabinet or a wet drain line. They should tilt the indoor unit drain pan slightly to see flow. If they find standing water, they should keep the unit off until a technician clears the line.
Reset power safely
They should switch the breaker off for 30 seconds and then on. A power reset clears some control faults. If the unit fails to restart, they should record any error code displayed and note the pattern of failure.
Check the outdoor unit area
They should remove leaves and obstructions near the outdoor unit and confirm the fan can spin freely. They should not try to rotate the fan by hand while the power is on.
Test the app and account connection
If the unit connects to a cloud service, they should verify the app shows the unit online. They should sign out and sign back into the app if login fails. If app login causes repeated issues, tech support flows like those in the account sign-in help illustrate how providers guide users through account problems.
Note: large buildings and stadium systems use engineered roof and panel controls that differ from home systems. For example, retractable roof documentation explains independent panel operation and shading control for large HVAC designs, which is not applicable to most home mini splits but shows how large systems handle airflow and shading at scale (roof system details).
When To Call A Professional, Warranty Tips, And What To Expect From Repairs
Call a licensed HVAC technician when the compressor fails, refrigerant leaks, electrical faults exist, or when the unit shows repeated error codes. A technician will test pressure, inspect the compressor, and check capacitors and contactors. Technicians will use gauges and meters that homeowners should not use.
Preserve warranty by documenting issues. They should keep purchase receipts, installation records, and photos of error codes. They should not remove seals or attempt major repairs before calling authorized service. LG warranty often requires certified installers for parts replacement.
Expect a diagnostic fee for service calls. The technician will list required parts and labor and provide a repair estimate. If the job involves refrigerant recovery and recharge, the quote will include refrigerant cost and leak repair. The technician will explain the repair steps and time estimate.
Ask the technician for component test results. They should request readings for capacitor voltage, compressor amp draw, and refrigerant pressures. These readings help verify the repair and the need for future maintenance.
Plan for replacement if the compressor fails and the unit is old. Repairing a failed compressor on older mini splits can exceed replacement cost. A technician can compare repair cost to replacement and offer options for efficiency and warranty coverage.










Discussion about this post