


Getting a passport photo that meets official requirements is only part of the job. What happens after you download it matters just as much.
It’s easy to assume the photo is ready to go, but small changes can happen along the way. Sending it through a messaging app, taking a screenshot, or opening it in editing software can quietly affect the file. Even something as simple as saving it again can alter its size or quality.
Most of the time, these changes aren’t obvious. The image still looks fine on your screen. But application systems check more than just appearance. If the file no longer matches the required format, resolution, or dimensions, it can still be rejected.
Keeping the photo in its original form and handling it carefully helps avoid these kinds of problems and makes the submission process smoother.
Keep the Original Passport Photo File
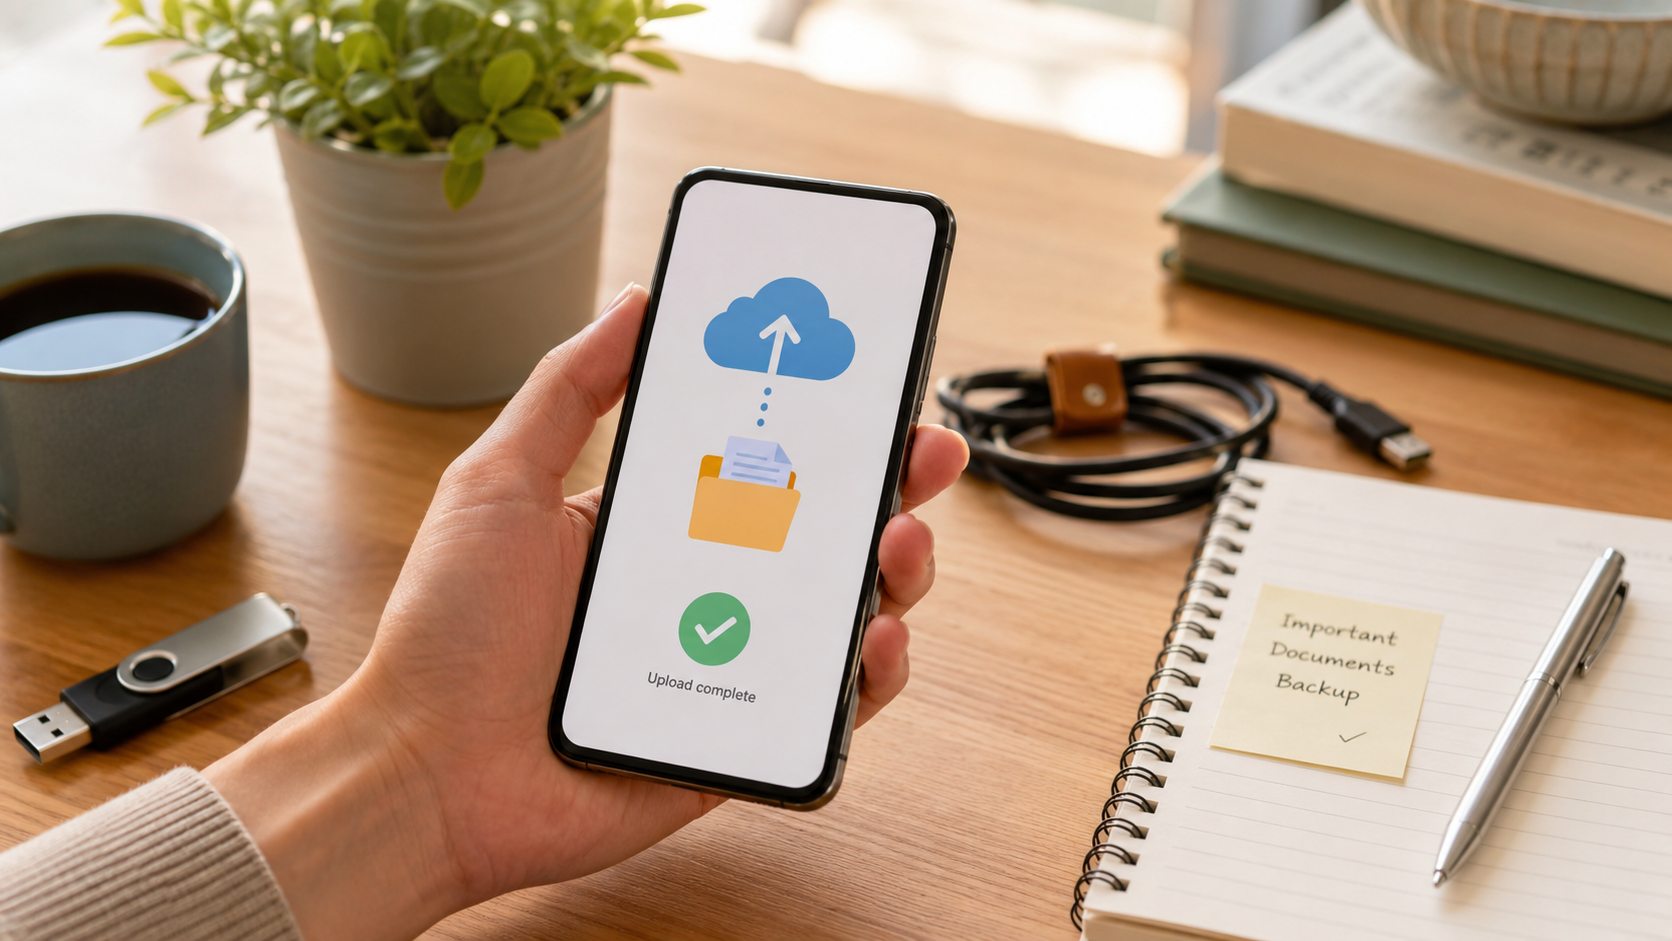
Once you’ve downloaded your passport photo, it’s a good idea to save it somewhere you won’t lose track of it later.
Think of this version as your main copy. Try not to keep opening it in different apps or saving over it again and again. Even small changes—like re-exporting the file—can affect things like image quality or size, which might cause issues when you upload it.
A simple way to stay organized is to create a folder just for your application files. Something like:Passport Application Documents
Put your passport photo in there along with any other documents you’ll need.
If you want, you can make a copy to use elsewhere, but it’s best to leave the original file exactly as it is. That way, if something goes wrong or you need to upload it again, you’ll still have a clean version ready to go.
Don’t Use a Screenshot Instead of the Original Photo
It might seem quicker to just take a screenshot of your passport photo, especially if you can’t find the original file right away. But this usually causes more problems than it solves.
When you take a screenshot, your device creates a brand-new image. That new file can end up with different dimensions, lower quality, or extra compression compared to the original. Sometimes it also captures bits of the screen around the photo, like borders or interface elements, which you might not notice at first.
Even if the screenshot looks fine on your phone or laptop, it may not meet the technical requirements of an application system. Small differences in size or quality can be enough for it to be rejected.
It’s always safer to upload the original file you downloaded, rather than relying on a screenshot.
Watch Out When Sending Photos Through Messaging Apps
It’s pretty common to move photos between devices by sending them to yourself in a chat. It’s quick and easy, but it’s not always the best option for something like a passport photo.
Most messaging apps automatically shrink images to make them faster to send. That usually means lower resolution and less detail, even if the photo still looks fine on your screen.
The problem is that official application systems can pick up on those changes. A photo that looks perfectly clear to you might still get rejected because it no longer meets the required quality standards.
If you need to transfer a passport photo, it’s better to use a method that keeps the file exactly as it is. For example:
- Send it as a file or document instead of a regular image
- Upload it to a cloud storage service
- Transfer it using a USB cable
- Email it as an attachment
- Use a direct transfer feature between devices
Once you’ve moved the file, it’s a good idea to double-check it. If the file size or dimensions look different from the original, there’s a chance it was compressed along the way.
Skip Filters and Beauty Modes
For passport or visa photos, the goal is simple: the picture should look like you, without any enhancements.
Most smartphones now come with built-in features that automatically tweak photos. These can include smoothing skin, adjusting facial proportions, brightening eyes, or adding subtle filters without you even noticing.
While these effects can improve everyday photos, they’re not suitable for official documents. Even small changes can make the image less accurate and potentially lead to rejection.
It’s best to turn off any features like:
- Beauty or “retouch” modes
- Portrait filters
- Skin smoothing
- Face reshaping tools
- Background blur effects
- Makeup filters
- Eye-enhancement settings
There’s a clear difference between preparing a photo for document requirements and changing how you look. Adjusting the crop or ensuring a plain background is fine, but altering facial features is not.
In the end, the photo should reflect your natural appearance as closely as possible.
Check the File Format
Most application websites don’t accept every type of image file. In many cases, they’ll ask for a JPEG (sometimes listed as JPG), but this can vary depending on the country or the type of document you’re applying for.
It’s worth taking a moment to check the exact requirement before you upload anything. It’s a small step, but it can save you from having to redo the process later.
One thing to avoid is simply renaming the file extension. Changing a file from .png to .jpg in the filename doesn’t actually convert it—it just changes the label. The image itself stays the same, which can lead to errors when the system tries to read it.
If you do need to change the format, use proper software or a reliable photo tool that can export the image correctly.
Uploading the wrong format might not always trigger a clear error message, but it can still cause the file to be rejected or fail to display properly during the application process.
Confirm the File Size and Dimensions
Digital passport photo requirements may include:
- Minimum image dimensions
- Maximum image dimensions
- Minimum file size
- Maximum file size
- Required aspect ratio
- Accepted image resolution
- Specific head-positioning rules
These technical requirements vary by country and application type. A digital photo prepared for one passport application may not be suitable for a visa, residence permit, driving licence, or identity card.
Always prepare the image for the exact document being requested.
If the application portal says that the file is too large, do not immediately crop the photo or use a random compression website. Doing so could reduce the quality or change the required proportions.
Return to the original file and use a reliable method to create the correct version.
Keep the Filename Simple
It might not seem important, but how you name your photo can make things easier later on.
Stick with something short and straightforward, like:
passport-photo.jpg
There’s no need to get creative here. Long names, special characters, or multiple dots can sometimes cause issues when uploading, especially on older or stricter application systems.
It’s also best not to include personal details in the filename. Adding things like your full name, date of birth, or passport number doesn’t really help and could expose more information than necessary.
Most application forms will ask for those details anyway, so keeping the filename simple is usually the safest and easiest option.
Preparing a Digital Photo With PassportPhoto.online
PassportPhoto.online allows users to prepare photos for specific passports, visas, and identity documents.
The user selects the relevant country and document type before uploading a photograph. The service then prepares the image according to the selected format, reducing the need to calculate dimensions or crop the face manually.
Once the photo is ready, the finished file should be downloaded and stored in its original form.
The service can simplify the preparation stage, but users should still avoid compressing, filtering, screenshotting, or repeatedly editing the image afterward.
Uploading the original prepared file directly to the official application portal provides the most reliable workflow.
Keep Things Simple When Submitting Your Photo
It’s easy to overcomplicate things when dealing with digital files, especially if you’re trying to make sure everything is perfect. But with passport photos, the more steps you add, the more chances there are for something to go wrong.
In most cases, a simple approach works best:
- Take a clear photo with good lighting.
- Prepare it for the specific document you need.
- Download the finished version.
- Save that file somewhere safe.
- Upload it directly to the official application site.
You don’t need to send the photo through multiple apps, edit it repeatedly, or create several versions just in case. Each extra step can slightly change the file without you noticing.
Once your photo has been properly prepared, it’s best to leave it as it is. Using the original file from start to finish helps avoid unnecessary issues.
While this doesn’t guarantee that the photo will be accepted, it does reduce the risk of technical problems and makes the whole process smoother.








Discussion about this post