


Digital passport photo uploads fail for simple technical reasons. Follow this guide to produce JPEGs that meet specs and clear automated checks.
Quick summary
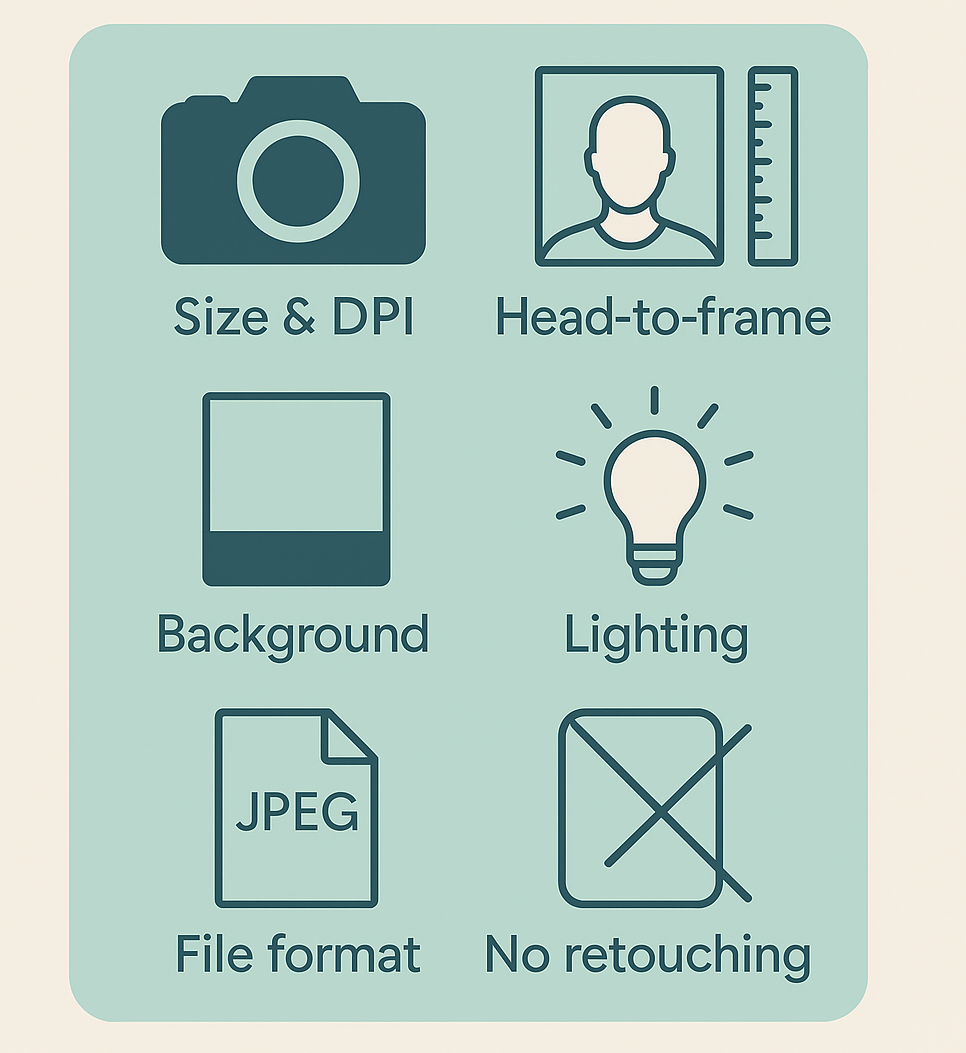
Save a high-resolution, sRGB JPEG. Match the exact pixel dimensions, DPI, and file-size limits of the issuing authority. Avoid heavy compression, filters, and metadata that alter appearance.
1. File format and color
- Use JPEG unless the site requires PNG or other format file.
- Use sRGB color profile. Many systems expect sRGB and will misinterpret other profiles.
- Make only minimal edits. No skin smoothing, reshaping, or stylistic filters.
2. Resolution, DPI, and exact pixels
- Shoot high resolution. Do not upsize a small image.
- Minimum export DPI: 300 DPI. 600 DPI is usually acceptable and gives more pixels for precise cropping. Watch file-size limits.
- Convert mm to pixels: px = mm × (DPI ÷ 25.4).Example (35 × 45 mm):
- 300 DPI → px/mm ≈ 11.811 → 413 × 531 px.
- 600 DPI → px/mm ≈ 23.622 → 827 × 1063 px.
- If head must be 32–36 mm: 300 DPI → ~378–425 px tall. 600 DPI → ~756–850 px tall.
- If the site specifies pixels use those exact values.
3. Compression and quality
- Save JPEG quality at 90–95%. This keeps file size reasonable while preserving detail.
- Avoid extreme compression artifacts. Blurring or blocking can cause automatic rejection.
- If the site enforces a max file size, reduce dimensions only if still within the required mm/pixel spec.
4. Metadata and color profile
- Keep the sRGB profile embedded.
- Remove unnecessary EXIF metadata if the site requires a clean file or strips metadata in previews. EXIF does not affect face matching but can bloat file size.
5. Cropping and head placement
- Use a country-template crop tool (official government crop tools, online passport photo tool such as IDPhotoDIY, or trusted apps).
- Place chin and crown markers precisely. Verify the head-to-frame ratio visually and with the tool’s ruler.
- Don’t crop by eye.
6. Lighting and image quality checks
- Use even, diffused lighting. No harsh shadows, glare, or color casts.
- Zoom in to check focus on the eyes. Blurry eyes fail automated checks.
- Check for halos after background removal.
7. Common upload pitfalls and fixes
- “File too large” → reduce JPEG quality slightly or crop to exact pixels, not both.
- “Photo too dark” → increase exposure slightly, keep natural skin texture.
- “Background not plain” → reshoot against a plain wall or use passport photo online tool such as IDPhotoDIY to replace background.
- “Face not centered” → recrop using a template tool. Re-upload.
8. Naming and submission
- Follow the site’s filename rules if specified (example: lastname_firstname_passport.jpg).
- Avoid special characters in file names. Use lowercase letters, numbers, hyphens, or underscores.
9. Final verification checklist (before upload)
Exact pixel dimensions match the site or converted mm→px at chosen DPI.
sRGB color profile embedded.
JPEG quality 90–95% with visible detail.
No heavy retouching or filters.
Head placement meets the required head-to-frame ratio.
Plain background and clean edges if background replaced.
File name and size meet upload rules.
Closing note
Match the issuing authority’s specifications exactly and use a template crop tool to set dimensions and head placement precisely. Small technical fixes prevent rejections and save time.


Discussion about this post